
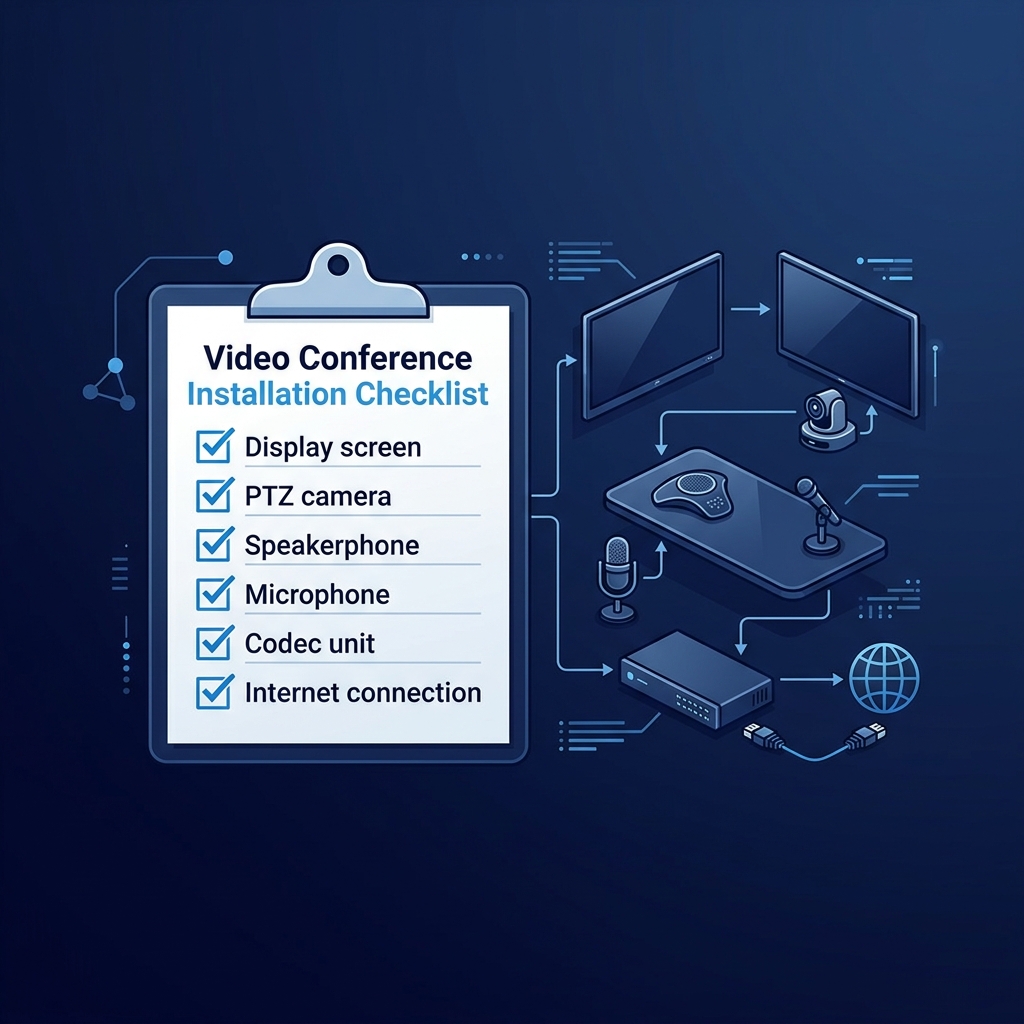
Before Installation Begins
- Confirm room dimensions and seating capacity — this determines camera type, microphone coverage needs, and display sizing.
- Identify the primary conferencing platform — Zoom, Microsoft Teams, or SIP-based — since this affects hardware and software configuration choices.
- Check network readiness — confirm adequate bandwidth and a wired connection (not Wi-Fi) for the room's video conferencing equipment, wherever possible.
- Plan cable routing — HDMI, network, and power cabling to the display, camera, and any table-mounted microphone or connectivity panel.
During Installation
- Mount camera at appropriate height and angle — typically at or near display height, positioned to capture the full table without extreme angles.
- Position microphones for full room coverage — table or ceiling arrays sized to the room, tested for coverage at every seat, not just near the microphone itself.
- Configure display resolution and scaling — ensuring shared content and video feeds display clearly, not stretched or incorrectly scaled.
- Set up the codec or video bar — connected to the chosen platform, with correct audio and video device selection configured.
- Configure calendar integration — connecting the room panel to your Office 365 or Google Workspace calendar for one-touch meeting join.
Testing Before Handover
- Test a live call end-to-end — both an internal call and an external call with a real remote participant, not just a local loopback test.
- Verify audio pickup from every seat — walk the room during a test call, speaking from each seating position to confirm clear pickup throughout.
- Test wireless content sharing — from multiple device types (laptop, phone) to confirm compatibility across what your staff will actually use.
- Confirm one-touch join works correctly — test joining a scheduled meeting directly from the room panel, not just via manual dial-in.
- Check remote management access — confirm IT can monitor and manage the room system remotely as intended.
Documentation and Handover
- Provide a simple user guide — covering how to join a meeting, share a screen, and adjust volume or camera framing, ideally as a printed card in the room itself.
- Brief a room "champion" — someone on-site who understands the basics and can help colleagues in the first weeks of use.
- Document technical configuration — network settings, device IPs, and platform credentials, for future troubleshooting or expansion.
Post-Installation Follow-Up
Schedule a check-in after the first few weeks of real use to address any issues that only surface once staff are using the room daily — acoustic problems, unexpected network congestion, or usability confusion that a one-time test call would not reveal.
Ensuring a Smooth Installation
For video conferencing installations across Ahmedabad, we follow this exact checklist on every room, so nothing is left to discover only after the installation team has left and the first important meeting is already underway.
FAQs
Do you provide video conferencing room setup?
Yes. We provide meeting room setup, conference room systems, cameras, displays, microphones, and platform configuration.
How can S.N Marketing help with Video Conference Installation Checklist?
S.N Marketing can review your site requirements and recommend a practical solution for planning, installation, and support.
Do you provide service in Ahmedabad and nearby areas?
Yes. S.N Marketing serves Ahmedabad and nearby business areas including Gandhinagar, Sanand, Changodar, Naroda GIDC, Vatva GIDC, Odhav, SG Highway, Prahlad Nagar, and Satellite Ahmedabad.